There are numerous programs that can be used for enhancing and isolating cancels. I use GIMP and will be using screen shots from that software. GIMP can be downloaded at
http://www.gimp.orgThe process is
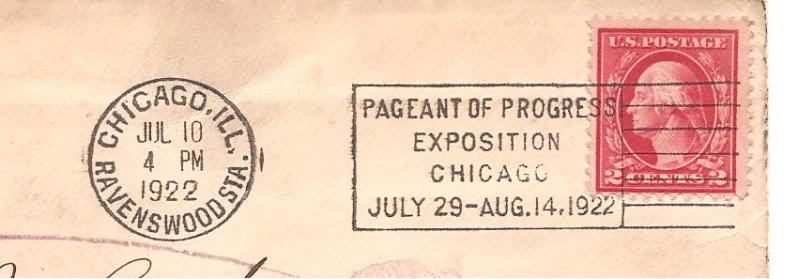
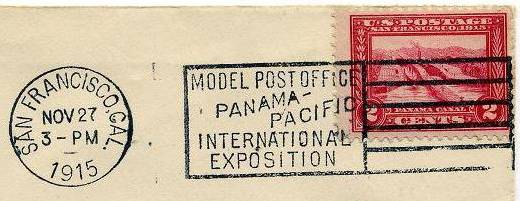
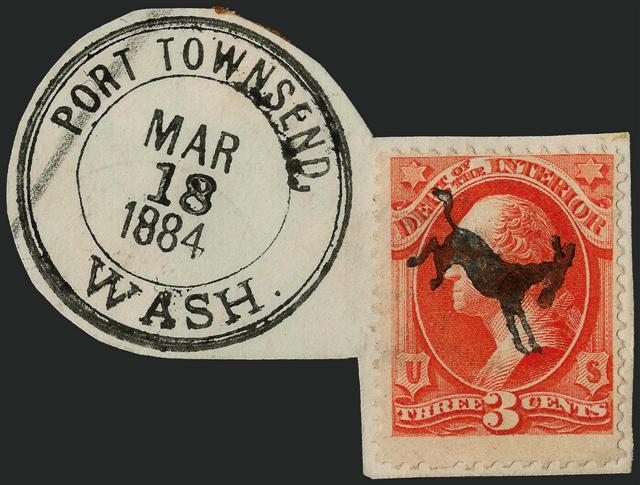
Scanning the cover
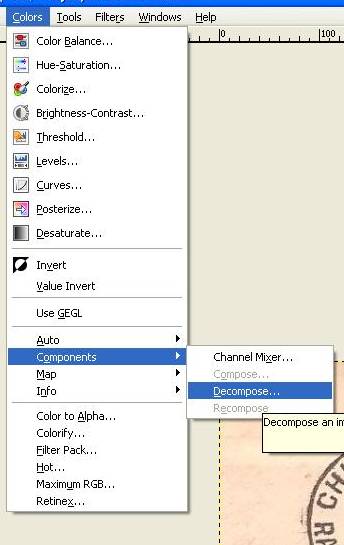
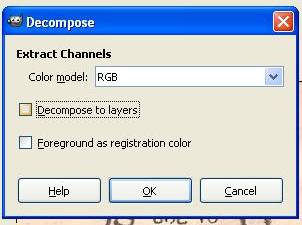
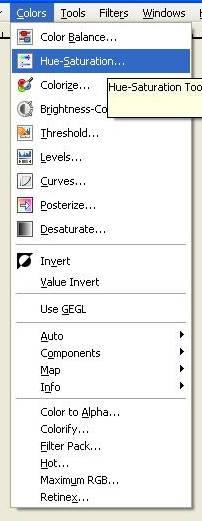
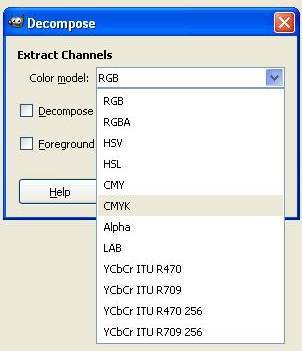
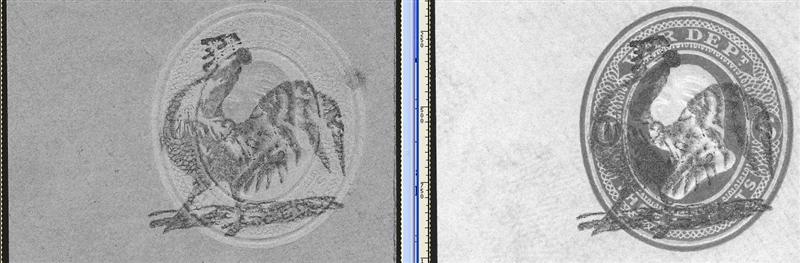
Processing the image through color decomposition
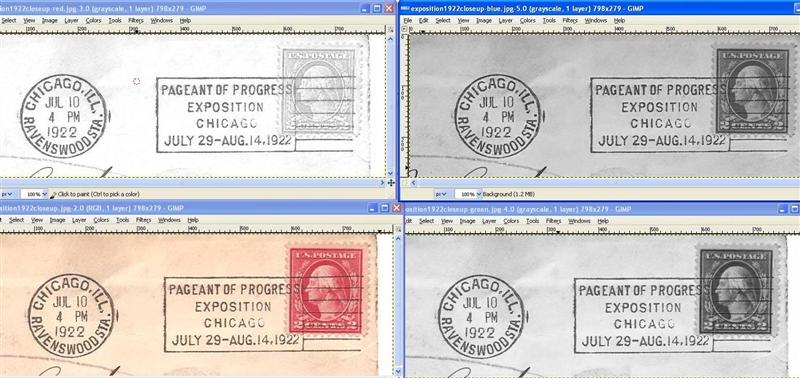
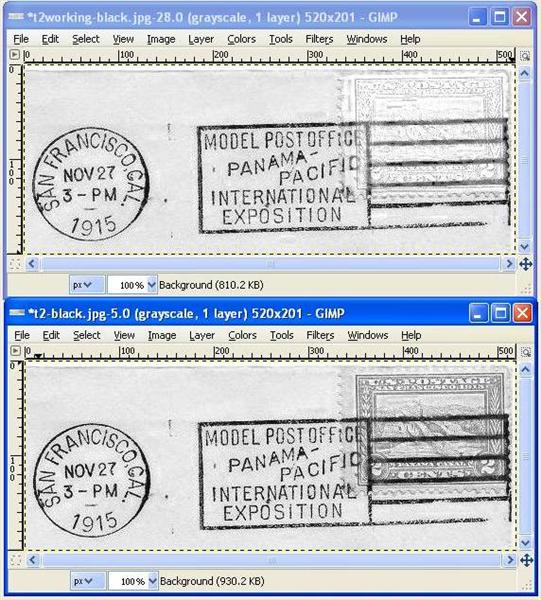
Selecting the best monochromatic image for further processing
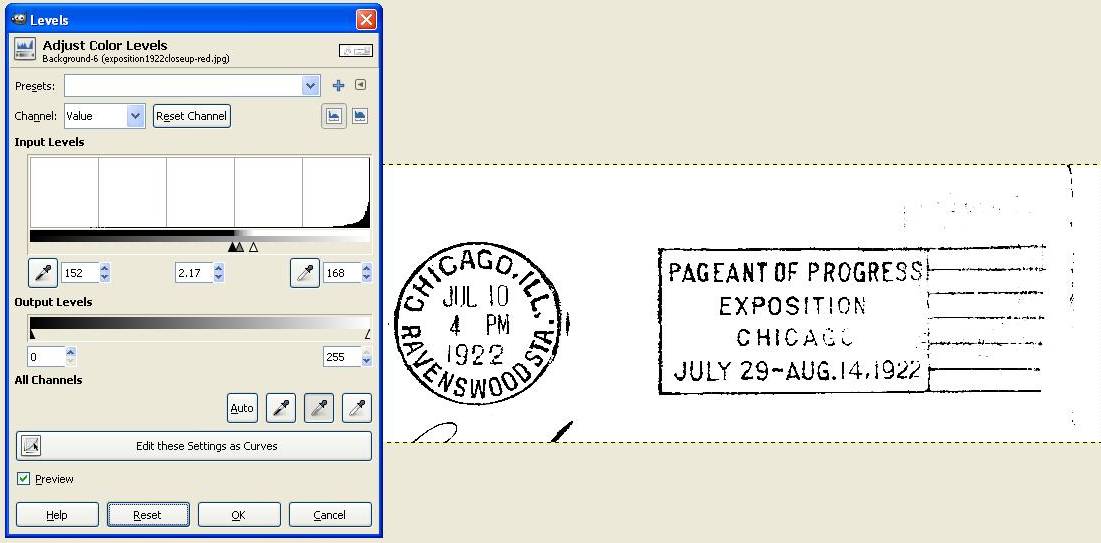
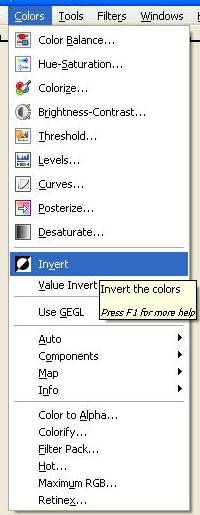
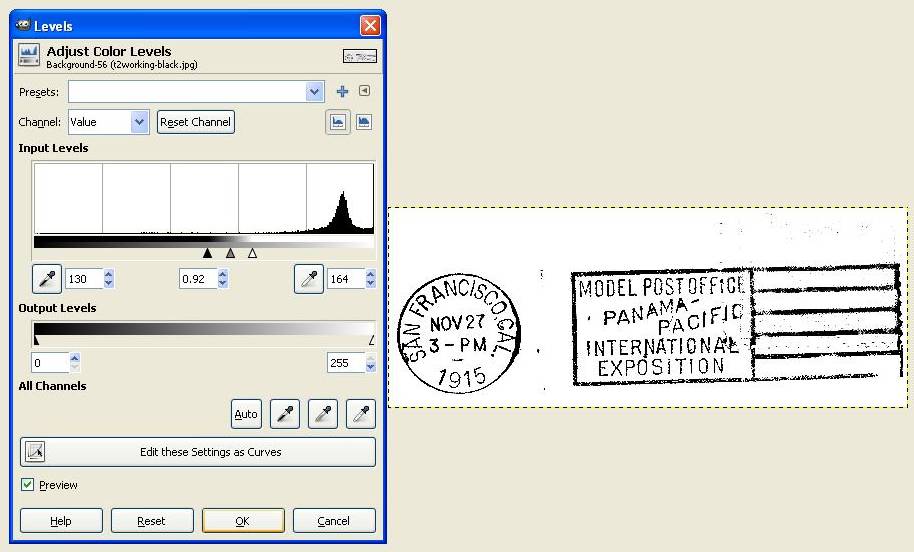
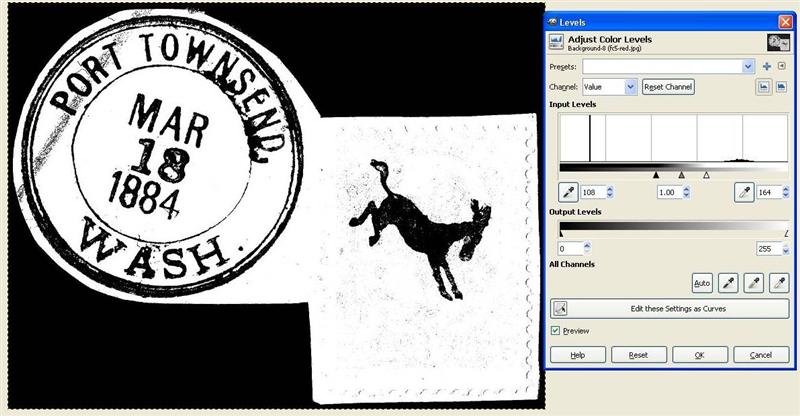
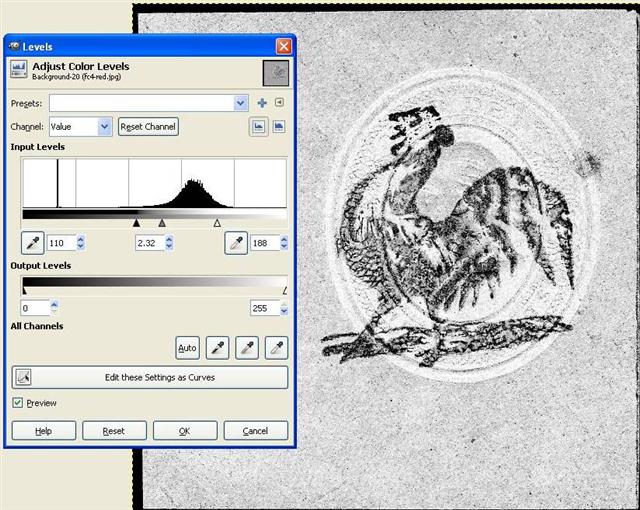
Adjusting brightness and contrast and saving the image
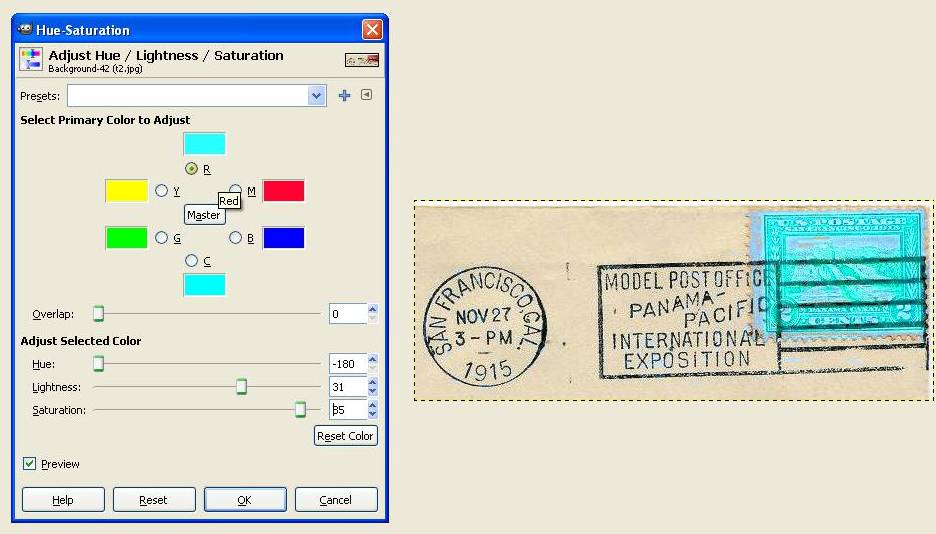
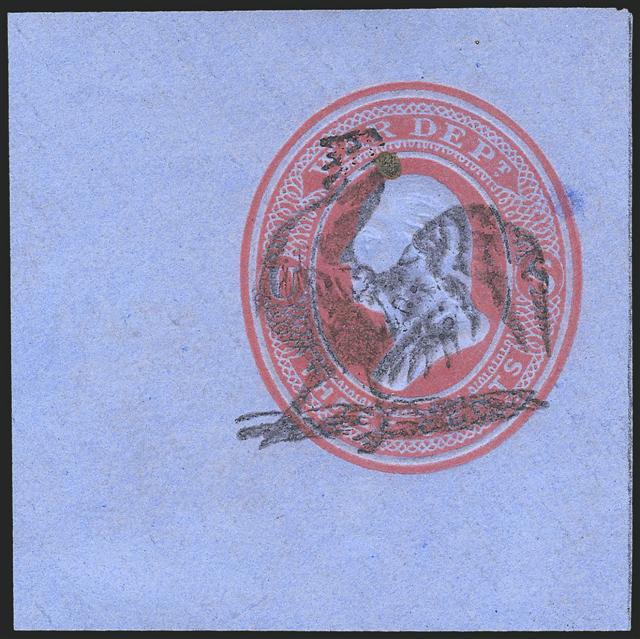
The results of this process is dependent on many factors but the 3 biggest variables are stamp color, cover color and cancellation quality. Since the decomposition is either RGB (red, green, blue) or CMYK (cyan, magenta, yellow, black) the quality of the monochrome image varies. Stamps that are predominately one of these colors will produce more easily manipulated images. Colors such as violet or brown are often made of roughly equal amounts on 2 or more of these colors but the decomposition can only work on one.
Colored envelopes or printing in cancel area can also provide some problems.
Light or incomplete cancels are more difficult to work with.
With some combinations the cancel can be isolated with little to no stamp image remaining on others a moderate to strong stamp image may remain.
Scanning has 2 important aspects, resolution and output format.
Resolution should be high enough to provide a sharp image but the higher the resolution the bigger the file size. Additionally I sometime use pixel replacement on some images which is time intensive especially with higher resolution scans. I normally scan at 600-1200dpi.
Since the images are going to be manipulated and save several time the scan output should not be JPG as the image quality tends to degrade after multiple saves. I normally use BMP. After all manipulation is done I then save the image as a JPG.