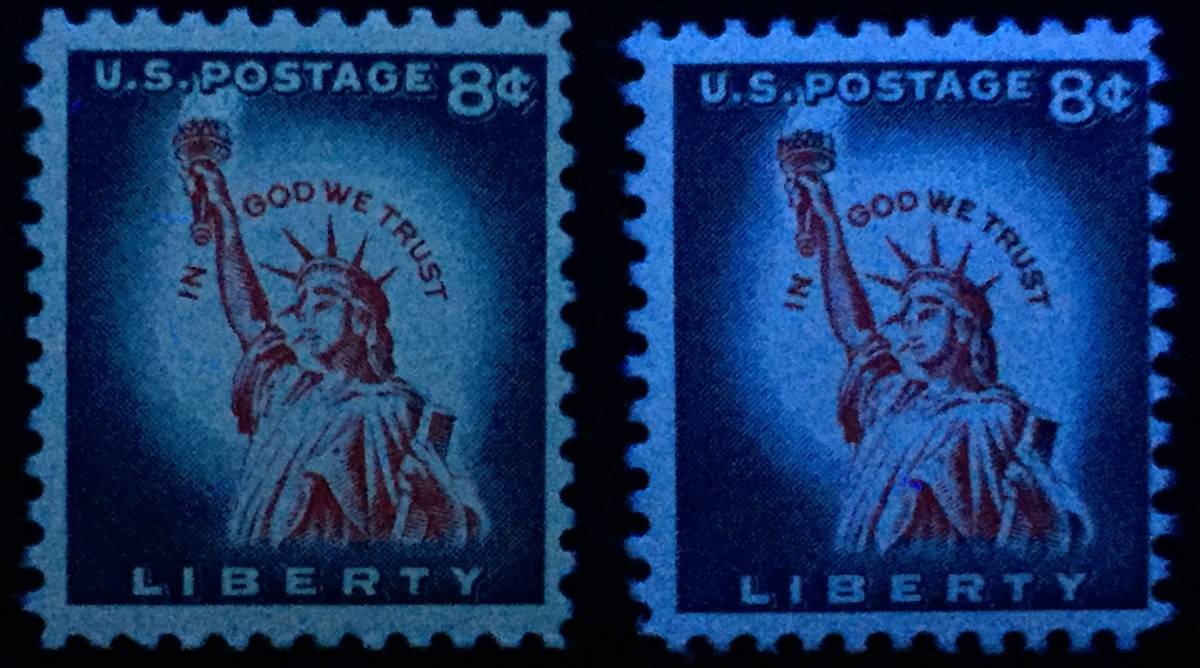
Having a Longwave (LW) UV lamp opens up a whole new world of stamp collecting. With it you can look for and identify different paper types or look for stamp varieties that come printed with luminescent and non-luminescent inks.
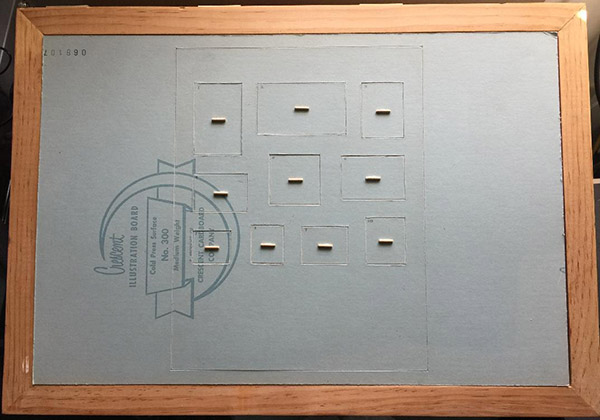
An example of paper varieties and ink types that can be identified is shown in the examples below.

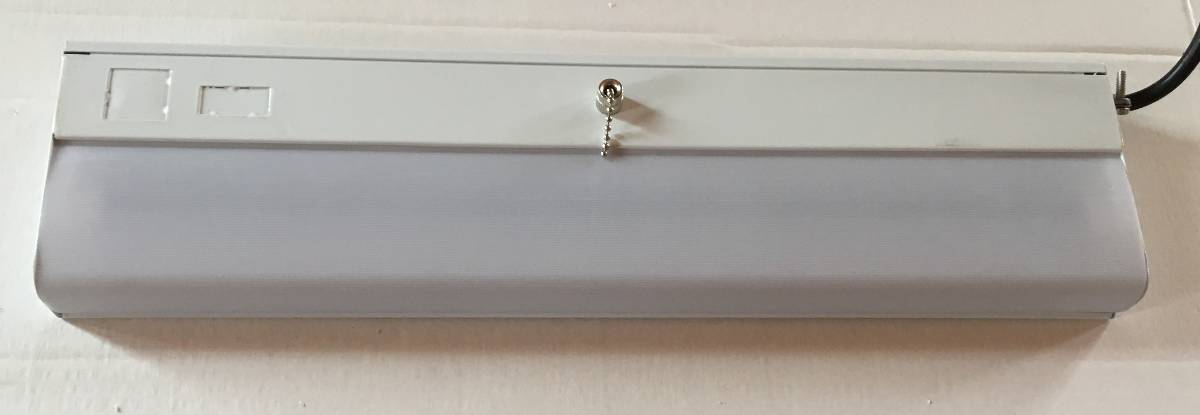
So how does one go about building their own LW UV lamp. The easiest and cheapest way is to purchase a fluorescent light fixture designed to be hung under a cabinet. They can be purchased online or at your local home improvement store for under $20US. You want the model that takes an 18" lamp. Below is an example of these types of fixtures. They come with and without pull chain. I like the pull chain version.
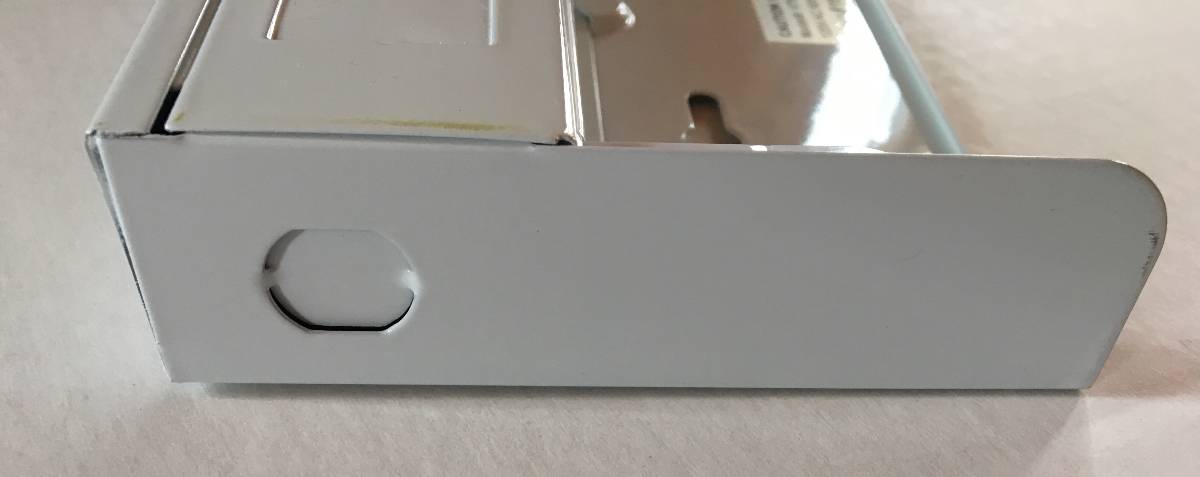
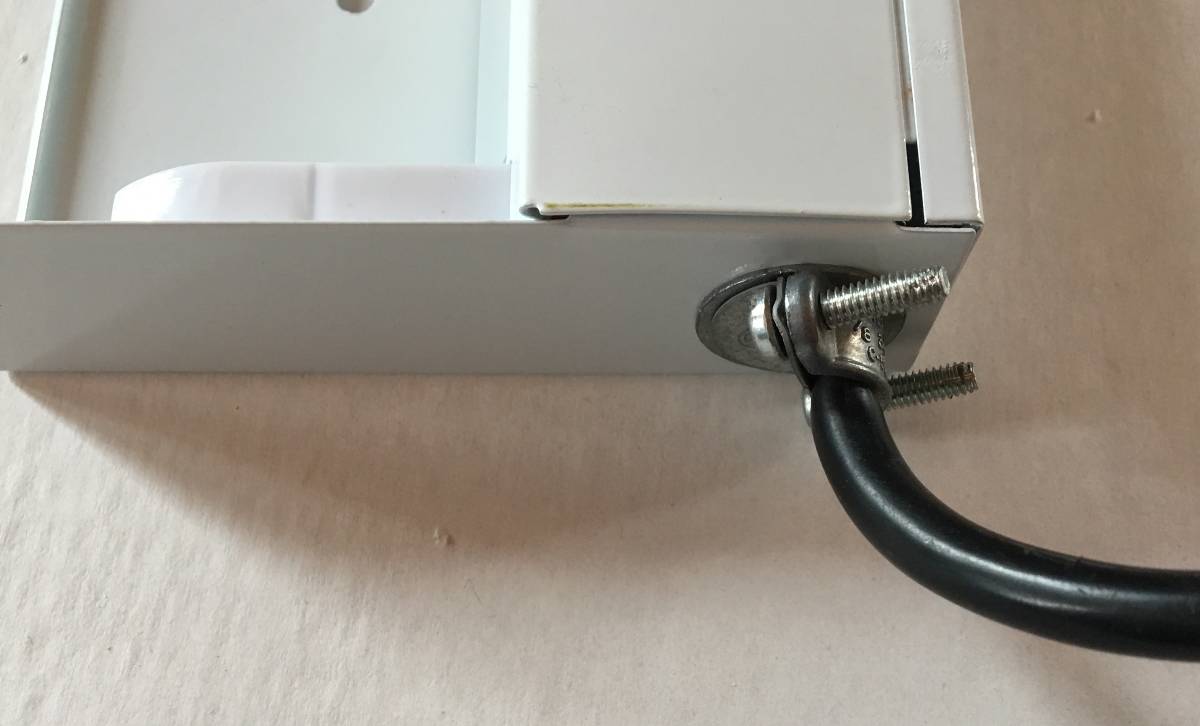
You with also need a cable screw clamp connector typically 1/2", an electrical cord and an 18" fluorescent black light. The screw clamp connector looks like this.
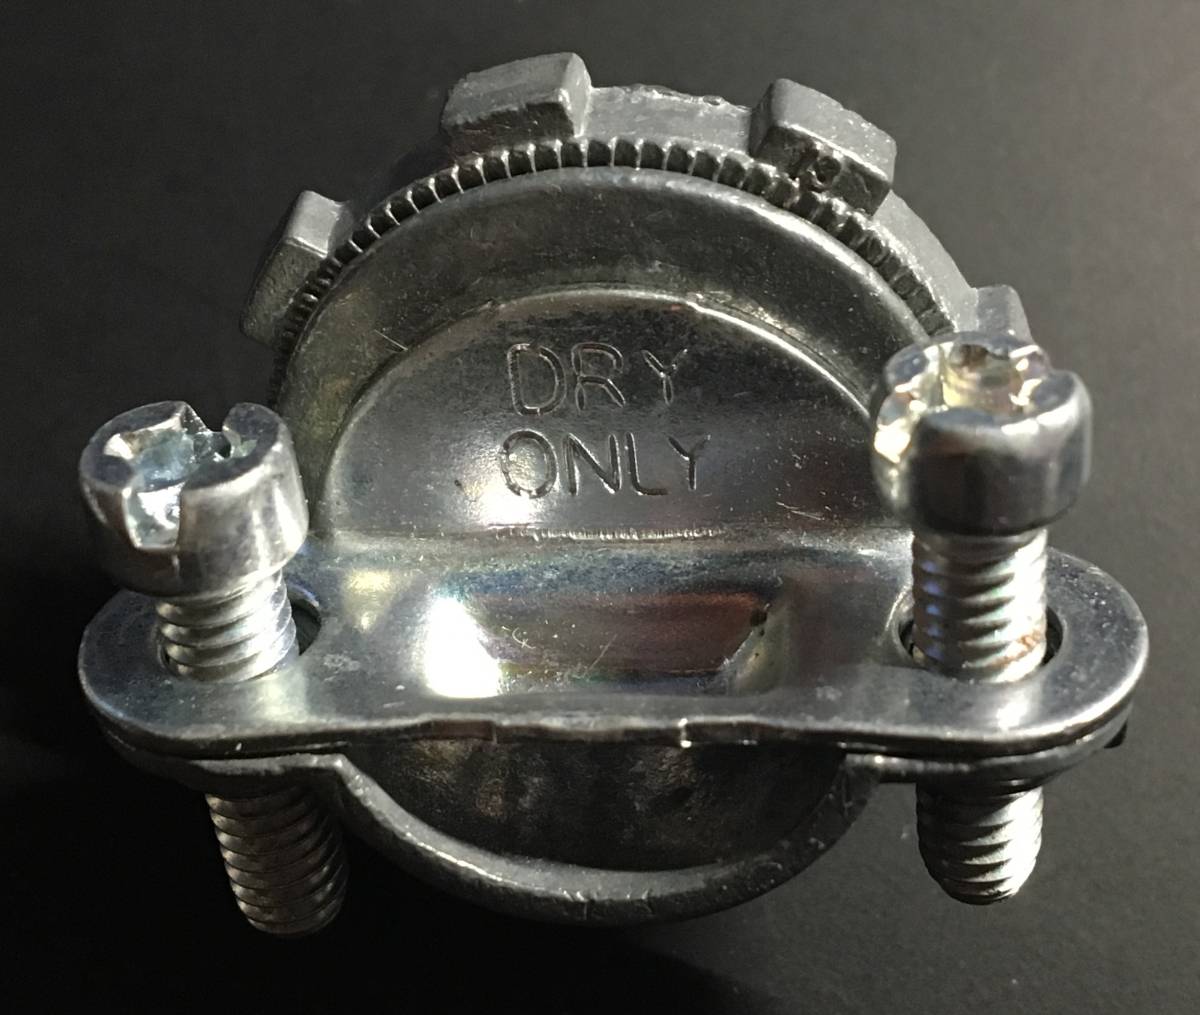
Your need one to securely attach the electrical cord to the fixture.
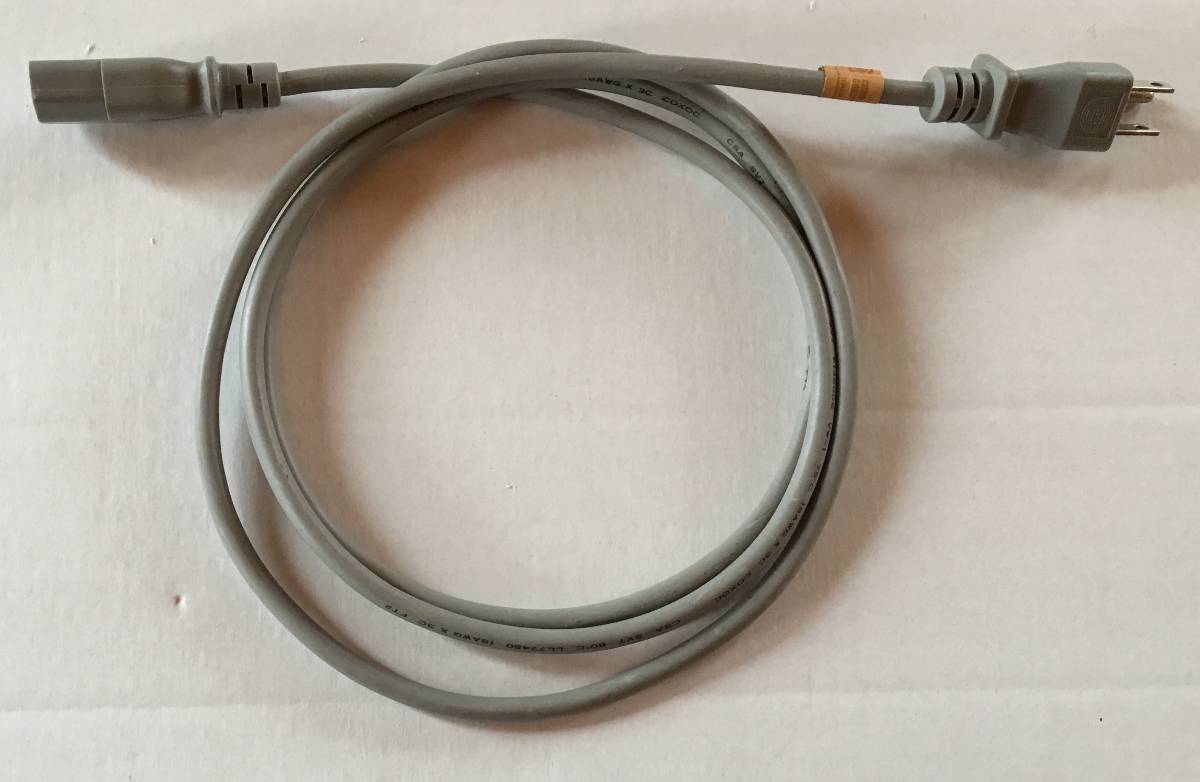
You also need an electrical cord. Rather than purchasing one find yourself an old power cord for a computer such as below.
These tend to be easy to come by. If you don't have one ask around, it will save you money as heavy power cords aren't cheap.
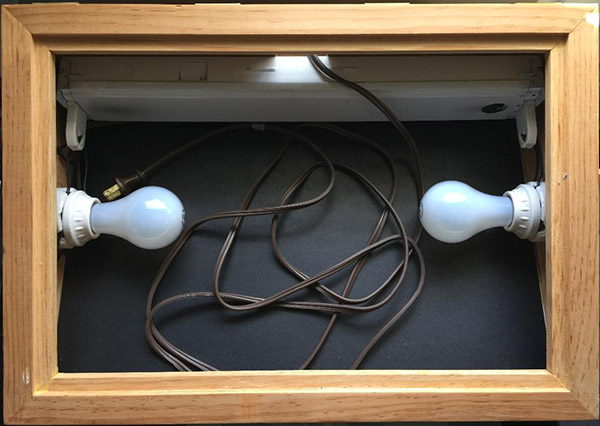
Remove the plastic shield that would cover the bulb and set it aside. When you remove the cover you need to get at the internal wiring. This is done by squeezing the metal shield near the areas highlighted in red to pop the shield out from under the tabs holding it.
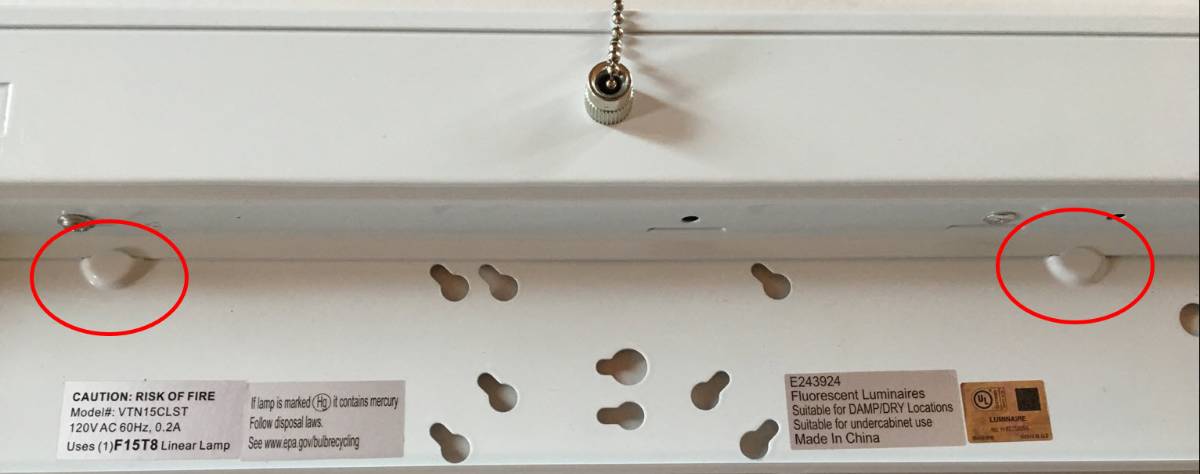
This will allow you to expose the internal wiring.
On either end you will find a metal knock out. Chose a side and knock only one out.
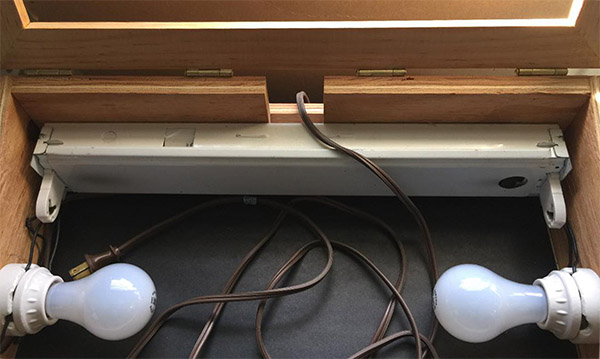
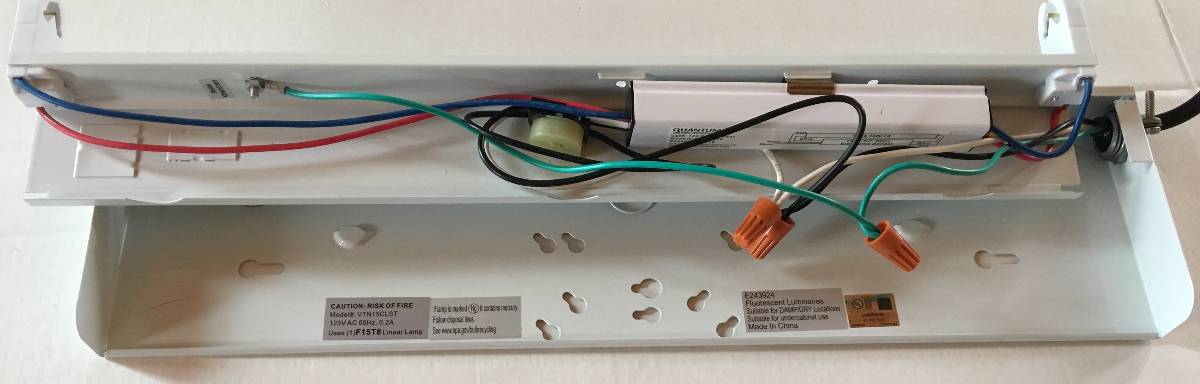
You then want to insert the clamp connector apply its screw ring and tighten it down. Take the cord you found and cut off the female end (gender should be obvious). Thread a 6-8" length of cord through the connector and tighten down the two screws on the clamp connector. It should look like so when done.
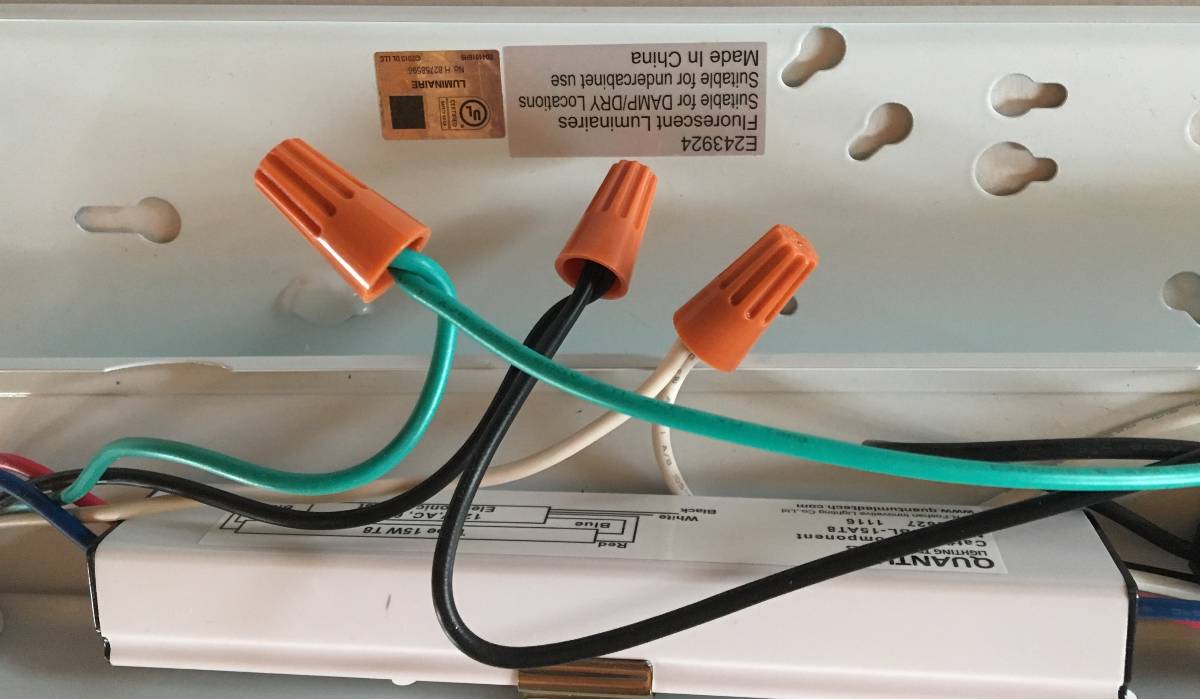
Strip back the shield on the cord exposing the three wires in the cord. You can strip it back to about an inch from the connector. Then strip about 1/2-3/4" of insulation off the end of the wires. Now twist the white wire of the cord with the white wire of the fixture. Screw one of the wire nuts (those orange things) on the end of the twisted wires. The wire nuts typically come with the fixture. Do this for the black and green wires. When done it should look like this.
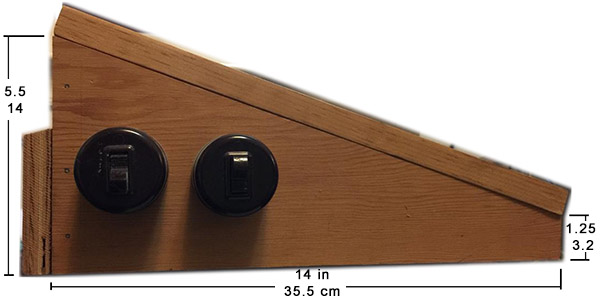
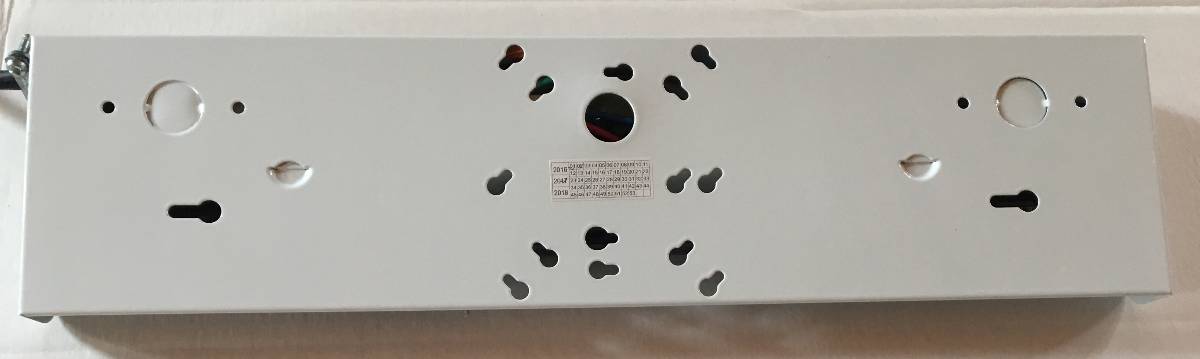
Now carefully close the unit back up being careful not to pinch the wires. These units have various holes on top for mounting so you will want to cover these.
Use something very opaque as you will see in the image below. The light can be harmful to you eyes so you want to minimize exposure. To use elevate the unit approx. 3" above the surface you plan to use to view your stamps. In my case I just used some boxes on a card table.
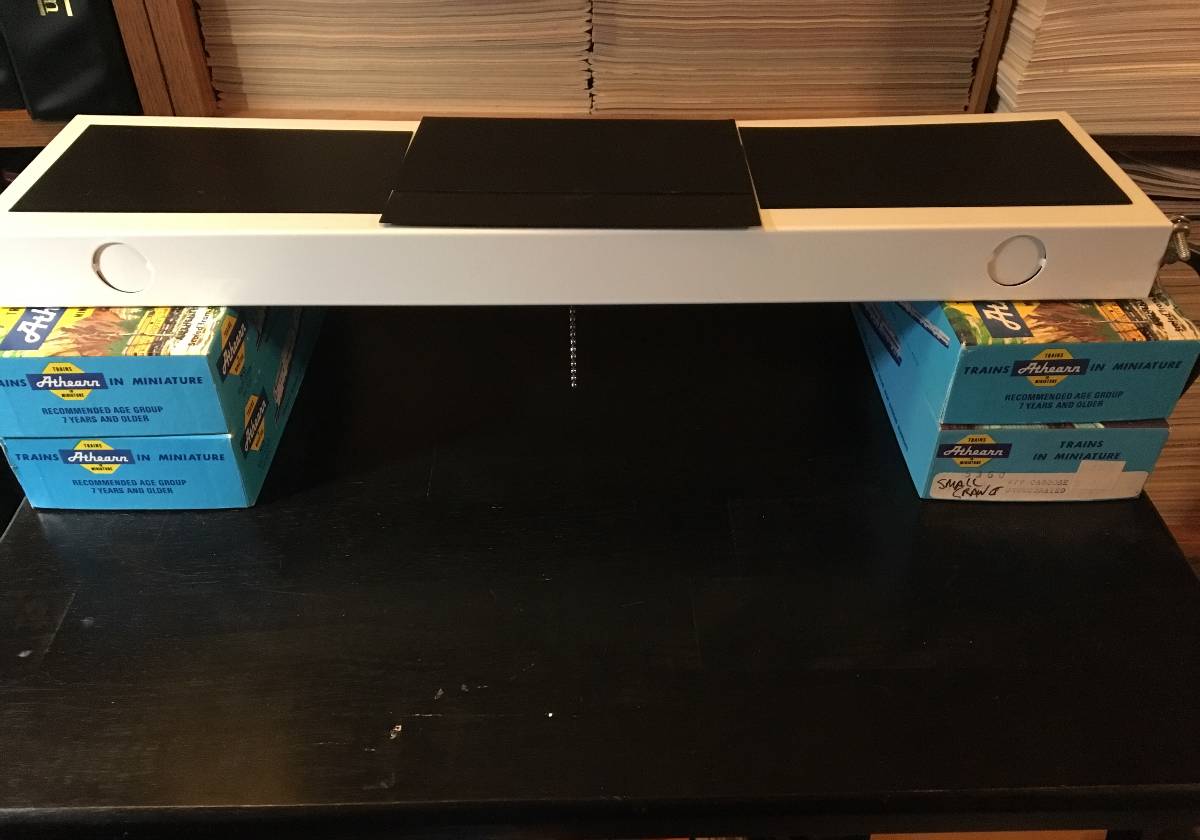
When using the unit do not look directly into the light. When not in use you can cover the bulb using the plastic shield you removed. The nice thing about this DIY version is that it is quite portable.
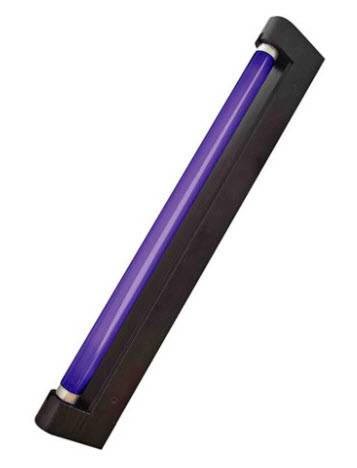
What about incandescent black lights or UV LEDs. I have found neither one works as well. You can also find various units such as the one shown below. The downside to this unit and other similar ones are several fold. Much more of the bulb is exposed which means you need to come up with some form of shield so that only the stamps are exposed. With the under cabinet approach the light is aimed down limiting direct eye exposure (assumes you covered mounting holes. Another downside is that the bulb is not protected in any fashion. With the under cabinet fixture you can cover the bulb as I mentioned with the shield when not in use. Since the under cabinet fixtures are fairly wide they also sit nicely on almost any flat surface you set them on.