As you move through the identification process I recommend that folks start with the assumption that they have the most common stamp varieties; not the rarest. Assuming that you have the most common variety makes sense because it is by far most likely the case.
The next logical identification steps are as follows;
1. Identify the stamp design
2. Identify the perforations
3. Identify any watermarks
This will positively identify many stamps without the need of going further. If it does not then move to the next three steps.
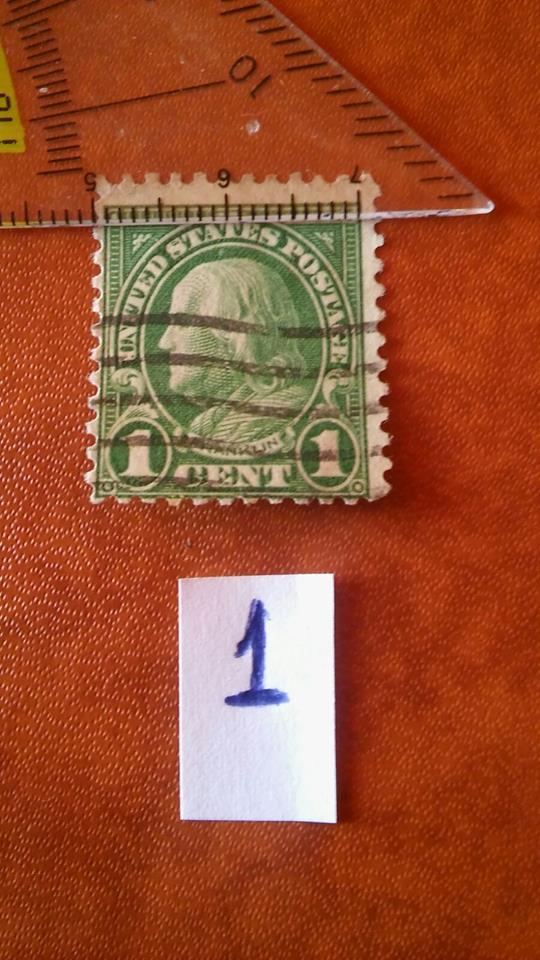
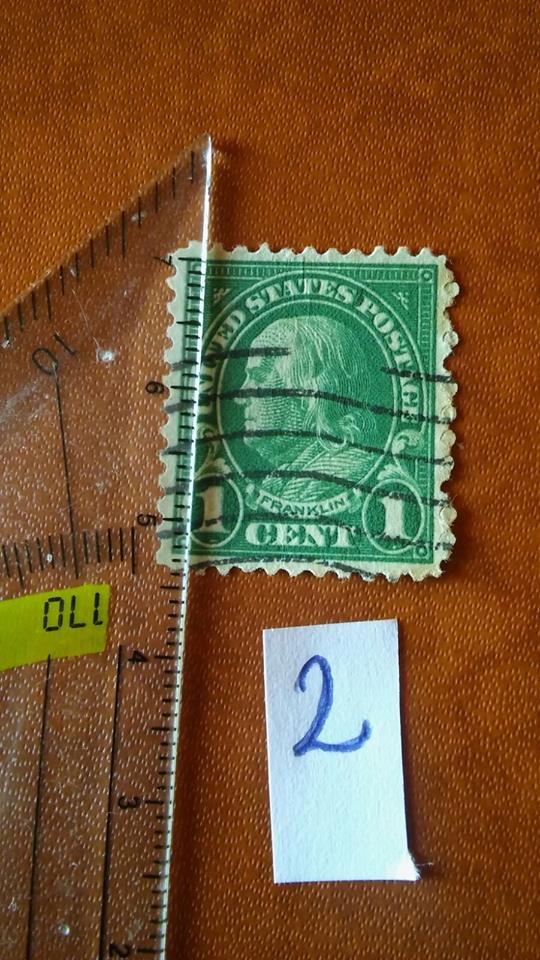
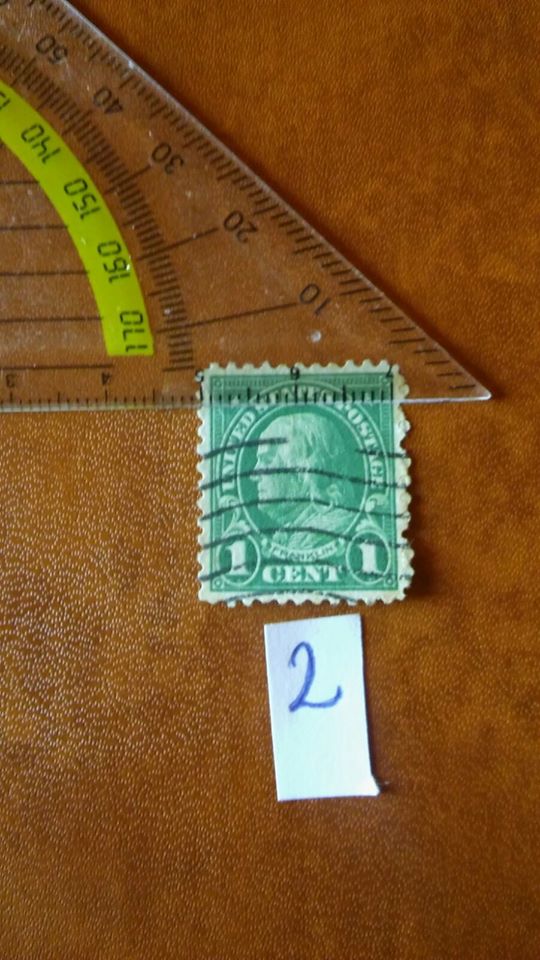
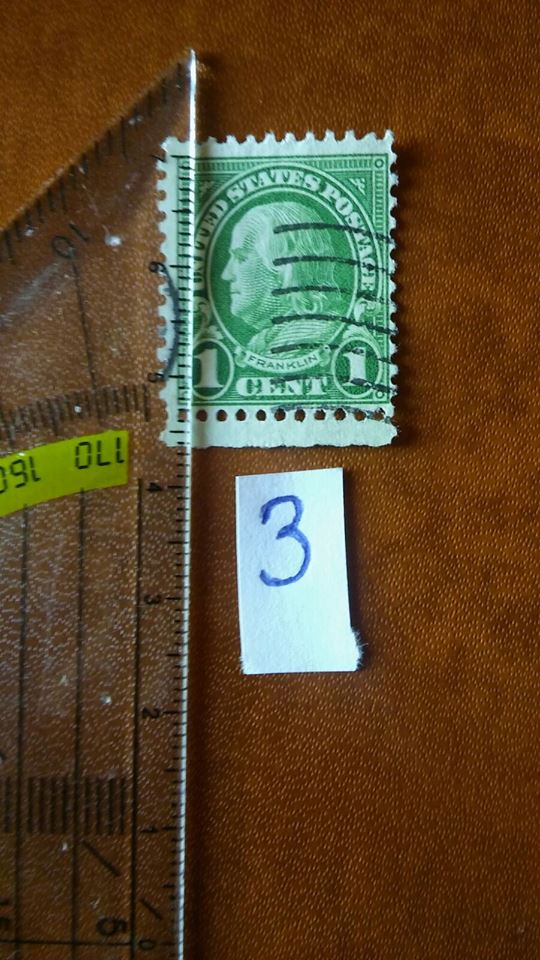
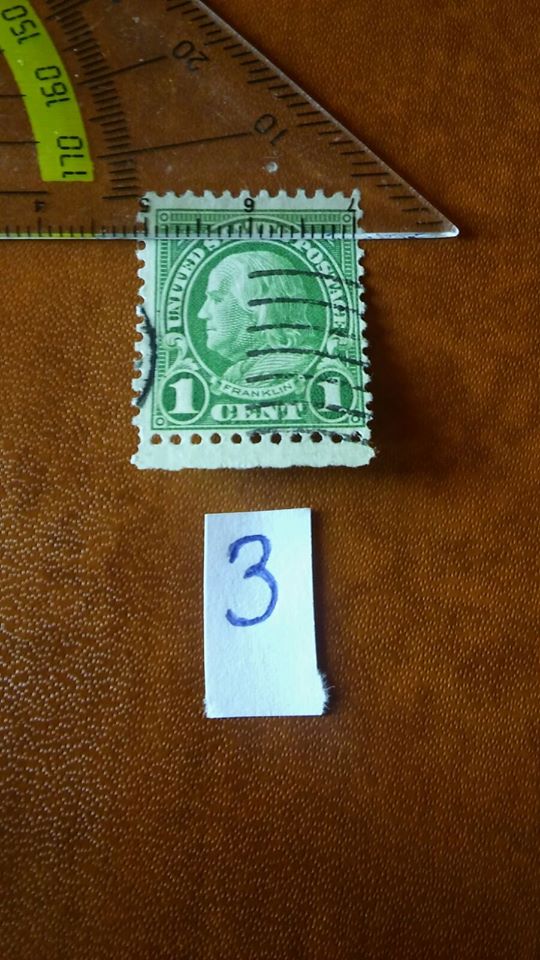
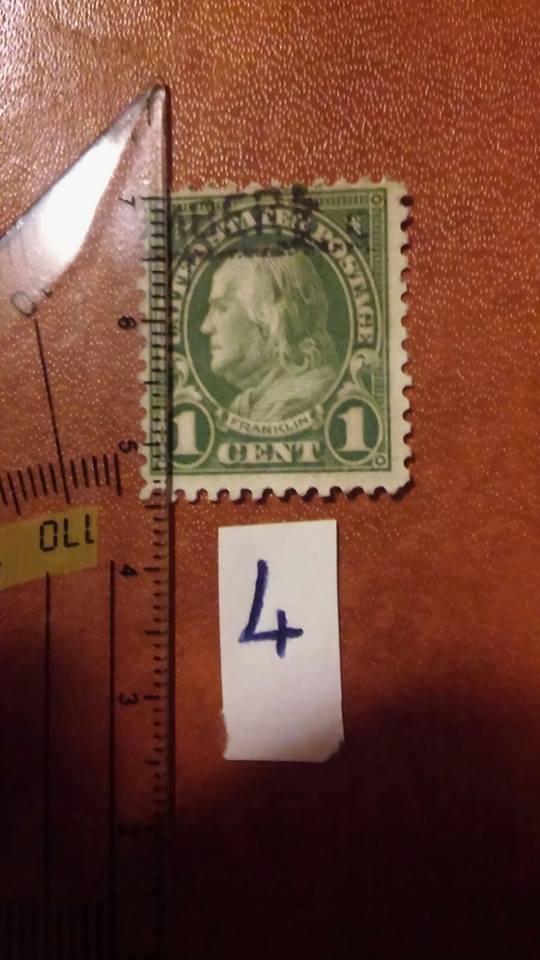
4. Identify the dimensions
5. Identify the color
6. Identify paper type (only on early US stamps)
These steps are last because they are a bit more difficult. The dimensions for many US stamp vary and measuring them with standard rulers a bit problematic. A preferred method is to sacrifice another known, stamp and make it a template. You can find instructions on how to do this at Stamp Smarter (here
http://www.stampsmarter.com/1847_landing.html then click on the link at lower right named "PRINTING METHODS Flat Plate, Rotary or Offset?").
Color determination can also be a bit tricky although once you become more experienced it becomes easier. Using online images is arduous since images can look vastly different depending on how the image was generated and then the display being used to view it. For newer hobbyists the best way to get color experience is to assemble a color reference groups of stamps (and a great use of those duplicate stamps!). Once a hobbyist learns about stamp production, how it evolved over time, and works with enough stamps identifying colors becomes much easier.
Paper type identification is sometimes helpful to the hobbyist for earlier US stamps. You can learn more on paper types Stamp Smarter link above under the link named "PAPER TYPES of the 19TH Century U.S. Stamps".
Don
APS #094826