| Author |
 Replies: 17 / Views: 4,309 Replies: 17 / Views: 4,309 |
|
Valued Member
Netherlands
83 Posts |
|
|
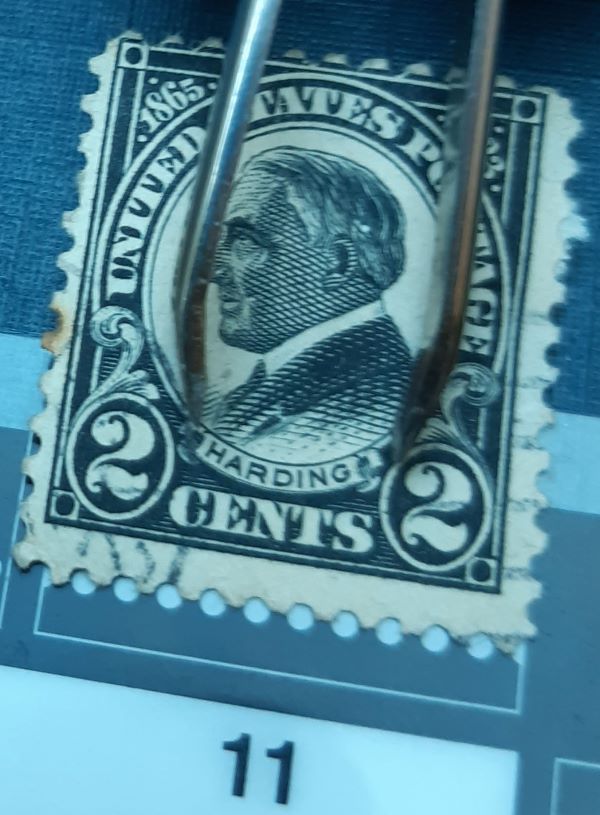
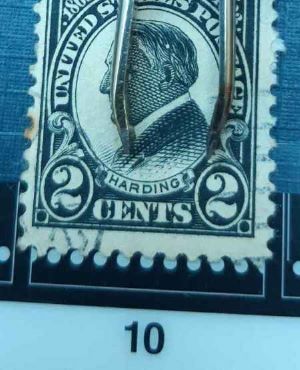
Hi, I got this black Harding 2 cents from -I think- 1923, perforation 11. As many people I guess, I'm trying to assess whether this is flat plate (insignificant value) or rotary press printing (pretty valuable). I tried to measure the height but I'm looking for a difference of a quarter of a mm (resp 22,25 and 22,5) and the stamp is not well centered. Anyone got tips how to continue? 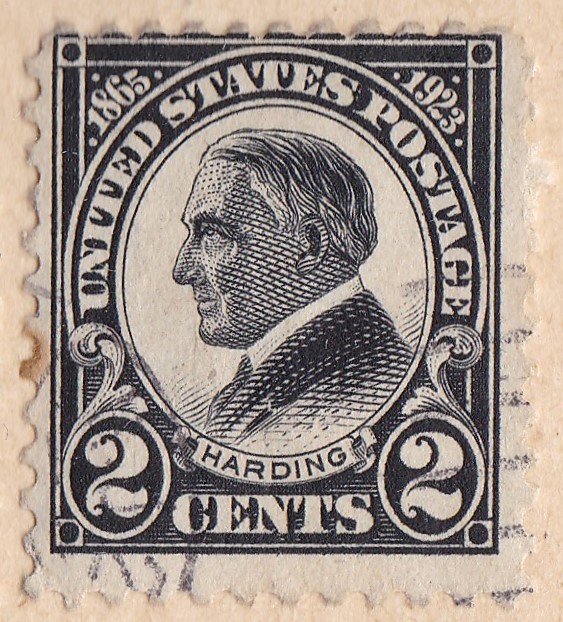 |
|
Send note to Staff
|
|
|
|
|
Pillar Of The Community
United States
1162 Posts |
|
|
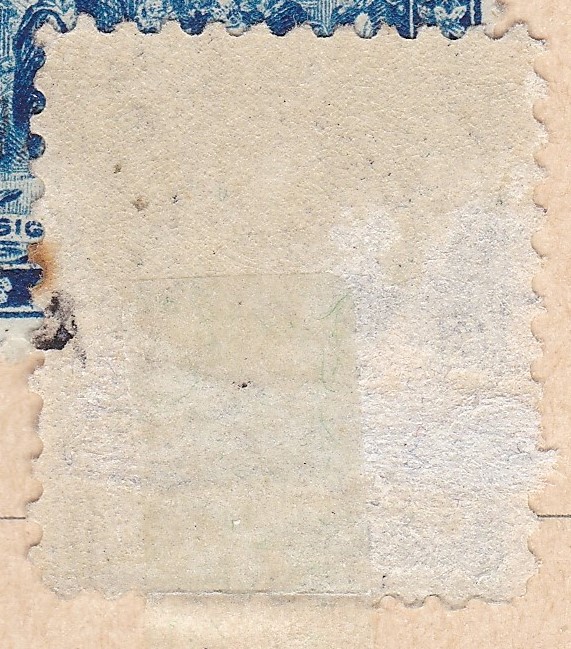
Show us a scan of the back. A flat plate printing often (so it is not a hard-and-fast test) has offset on the reverse from the sheet below it immediately after printing. Another test is that rotary press stamps often have wavy gum - that won't do you much good in this case. |
Send note to Staff 
|
|
|
Pillar Of The Community
United States
8956 Posts |
|
|
Valued Member
Netherlands
83 Posts |
|
|
Pillar Of The Community
United States
8956 Posts |
|
|
Bloemzee, you ought to find a piece of black paper to use when posting pictures or scans.
Also, most of the paper on the back of your stamp is missing which makes the stamp more or less worthless.
For what it is worth it is most likely a rotary press stamp ( no set-off on the back as far as we can see ).
Peter |
|
Send note to Staff
|
|
|
Valued Member
Netherlands
83 Posts |
|
|
Valued Member
Netherlands
83 Posts |
|
|
Petert4522, just now saw your response. Interesting insight on the back damage. That doesn't sound good. |
|
Send note to Staff
|
|
|
Pillar Of The Community

United States
1493 Posts |
|
|
Look for an inexpensive perf 10 Harding. Then compare the physical dimensions. All perf 10 Hardings are rotary press, so they ought to be the same physical size as the rare perf 11 rotary. While it is extremely difficult to accurately measure the dimensions, it is often fairly easy to see the slight differences between a flat plate & rotary press stamp. |
|
Send note to Staff
|
|
|
Valued Member
Netherlands
83 Posts |
|
|
Moderator

United States
12330 Posts |
|
|
Pillar Of The Community
6330 Posts |
|
|
Building on JLLebbert's post, the height difference is very small. Standard rulers are not satisfactory. The easiest way is to use another stamp of known production method as a template. As an example, taking damaged stamps, here is a Scott 612, perf 10, which must be a rotary printing: 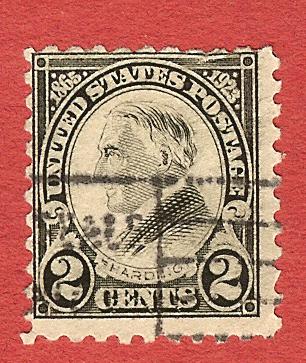 I cut off 2 or 3 corners to remove some of the unprinted edge: 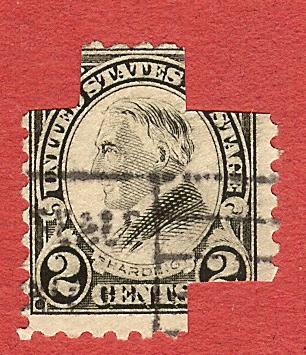 Here is a Scott 610, perf 11, flat plate with similar cuts: 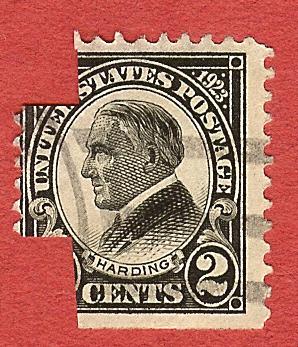 When I place them side by side (or overlap them), the bottom of the printing is aligned, but the top shows the rotary stamp (612) on the left it taller by the width of the outer frame line. 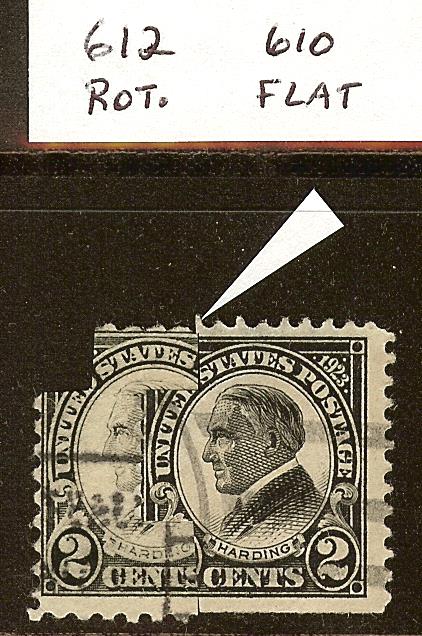 One can make flat/rotary templates and look for match/non-match, depending on your preference. Here are my other ones in a stock card. They can also be useful to differentiate between sheet and booklet printings. I keep in my briefcase so they are always with me at shows when I want them: 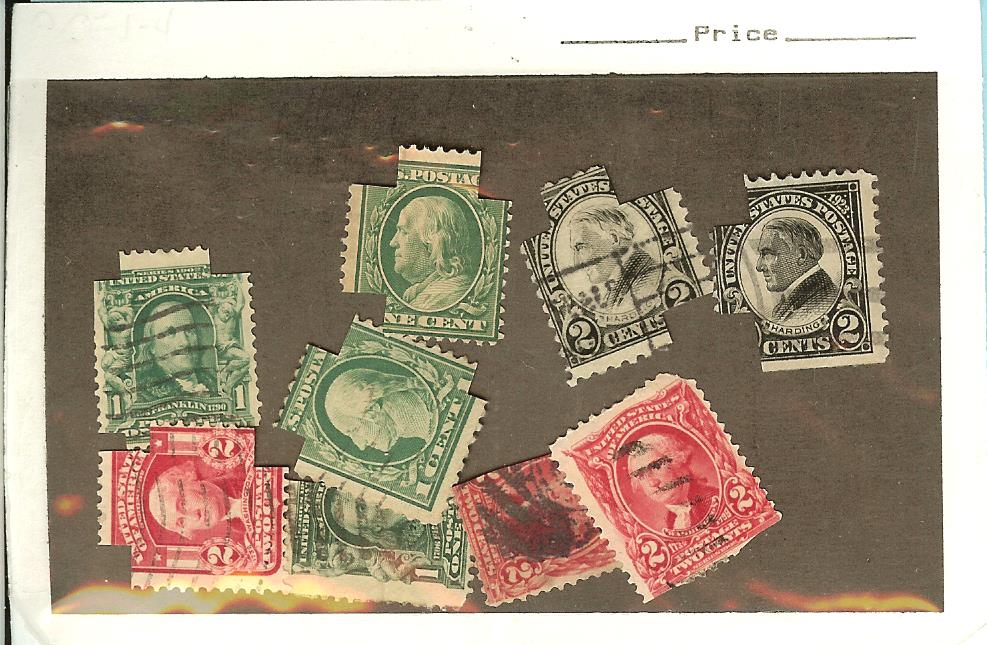 They are also labeled on the back side: 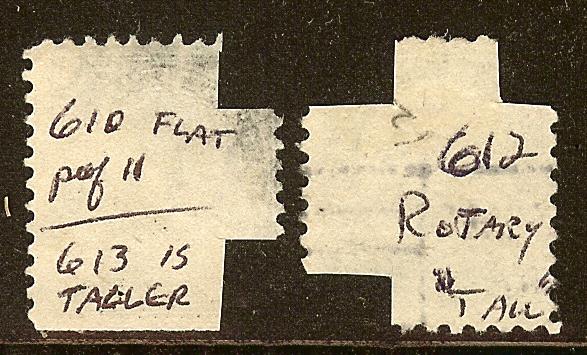 |
|
Send note to Staff
|
|
|
Valued Member
Netherlands
83 Posts |
|
|
Seems very useful to have such a collection of pre-cut stamps to make quick assessment! Thanks for sharing it's very clear. I need to decide which of my stamps to cut op....considering my little experience and little choice of stamps, that will take some time.... maybe as a shortcut I will photocopy a few stamps to play with (or is this again prone to error?) |
|
Send note to Staff
|
|
|
Pillar Of The Community
6330 Posts |
|
|
There was a reason behind each stamp I cut. I don't do this very often, I use damaged/cheap stamps, and I am sure of their ID first. |
|
Send note to Staff
|
|
|
Pillar Of The Community
United States
8956 Posts |
|
|
Well Bloemzee, you can start with the one above. It is badly thinned, badly centered and has some toning. Get out the scissors,
Peter |
|
Send note to Staff
|
|
|
Moderator
United States
12330 Posts |
|
|
IDing these US stamp by size is the last criteria you want to use. Learning about the stamp printing types using other criteria is far more likely to result in accurate ID. The template method John shows above is the very last criteria to use after you have stepped through all the other criteria.
First, always start with the assumption that you have the most common stamps. Unless your relative was a millionaire, the odds they they (or any of us) stumbled upon rarities is very, very slim. You can read by through thousands of threads in this community where folks have burned much time hunting for rarities. Occam's Razor is very much at work and if you avoid confirmation bias in your ID process the chances of success will rise. You can tell the printing type of stamp with many visual and tactic methods once you have looked at enough of them.
And if you have stepped through the ID process and still believe that you have found a rarity, you are now faced with a purchasing decision. A rarity without a certification only results in the same situation in the future; trying to figure out what you have. The marketplace does not typically support uncertified rarities and certification can be costly. Doing the ID work you are doing and then putting a stamp back into a rarity space in the album without a cert will lead to someone else in the future burning more time.
Don |
|
Send note to Staff
|
|
|
Pillar Of The Community
6330 Posts |
|
|
The task determines the tool - and it comes with experience. There may be 2 facets to this. For a stamp collector, I agree with Don's approach to evaluate the "other" factors first - the perforations, the back side, the watermark. My experience has been more from the postal history perspective - the stamp is on a cover where the back side and the watermark often cannot readily be determined and the evaluation process goes directly from perforation to overlaying with a template. Or taking the example of determining whether a Scott 300 is from a sheet or booklet, I go right to the template to confirm the height/width ratio. |
|
Send note to Staff
|
|
|
Replies: 17 / Views: 4,309 |
|